Apillon Features: EVM wallet login
In addition to the already available Polkadot wallet connectivity, Apillon now supports profile entry using two major EVM wallets —…
In addition to the already available Polkadot wallet connectivity, Apillon now supports profile entry using two major EVM wallets — MetaMask and Coinbase Wallet.
Wallet login options
For a few months, Apillon users have had the option to link a Web3 wallet to their account and use it to log in to the Apillon dashboard.
Initially, the platform supported three Polkadot-based wallets, namely Polkadot{.js}, SubWallet, and Talisman.

Now, two more wallets have been added to the list of login options, and this time, compatible with EVM and related networks.

MetaMask
MetaMask, a veteran among decentralized crypto wallets, has been a staple in the Web3 community. It supports easy management of crypto assets, NFTs included, from a mobile app or browser extension.
Apart from its core EVM compatibility, it supports an array of different blockchains, including Layer-2 networks.
Download and install MetaMask on your browser 👉 here.
Coinbase Wallet
The self-custody wallet app by Coinbase, another behemoth of the Web3 space, is one of the leading solutions for managing crypto goodies from the comfort of your mobile or desktop.
It supports Ethereum-compatible networks but also Bitcoin, Solana, and more.
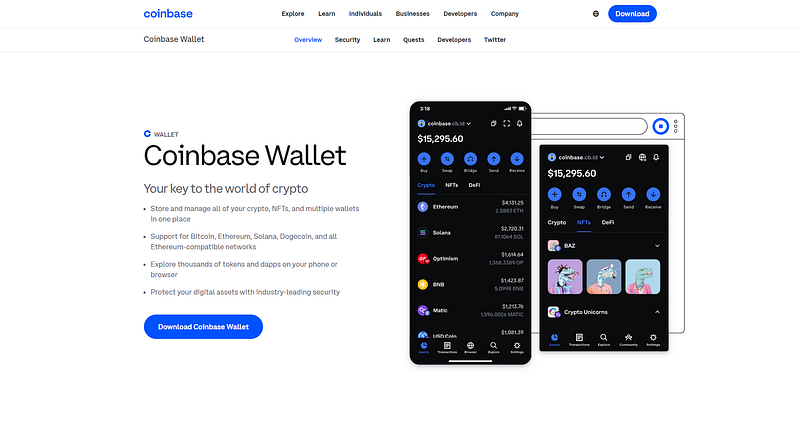
Download and install Coinbase Wallet 👉 here.
Log into your account using EVM wallets — step by step
To enable EVM-wallet login on Apillon, you should connect your wallet with your user profile.
First, log into your Apillon account.

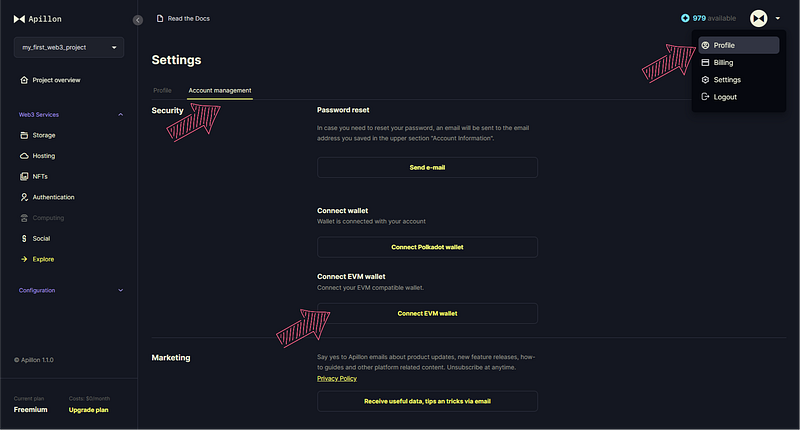
Once you’re in the Apillon dashboard, navigate to the top right corner, and under the down-facing arrow next to your profile pic, click Profile.
This will open your profile settings. Switch to the Account management tab, where you can manage your account details, wallet connectivity included.
Scroll down to the Security section and find the Connect EVM wallet option.
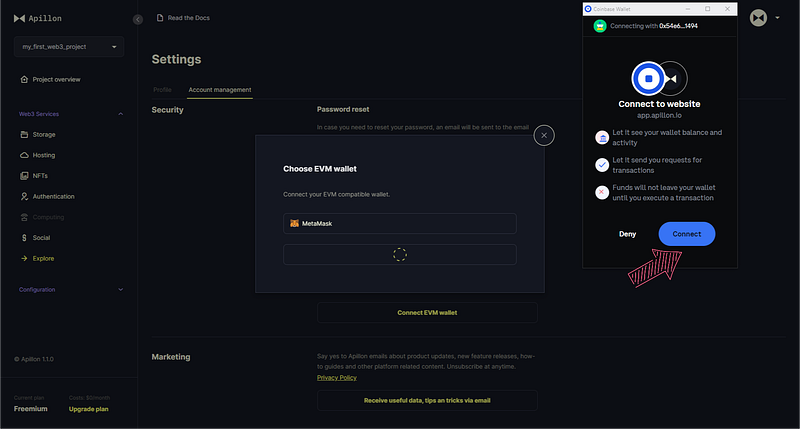
Click “Connect EVM wallet”.
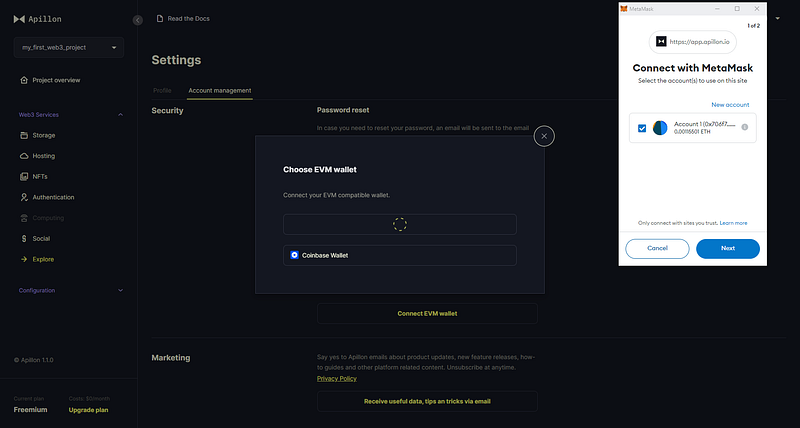
Next, simply choose the EVM wallet you want to connect with your account — MetaMask or Coinbase Wallet.

MetaMask
If you select MetaMask, the wallet’s browser extension will open, prompting you to confirm the action of connecting it with the platform.
Click “Next” and “Connect”. Finally, click “Sign” to approve the action and connect your MetaMask with your Apillon user profile.
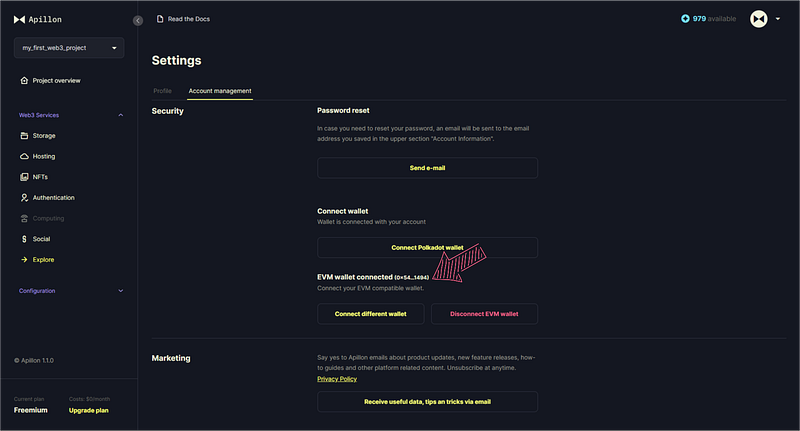
Once it’s done, you can see the wallet’s address linked to the Apillon dashboard.
At this stage, you can also choose to connect a different wallet — MetaMask or Coinbase Wallet — or disconnect the linked one altogether.

Coinbase Wallet
The same process applies to Coinbase Wallet. A browser extension will pop up, prompting you to “Connect”. Confirm the connection again by clicking “Sign” and entering your password.
Again, you can see your Coinbase Wallet is connected to your Apillon account in your user profile’s dashboard settings. You can also change the wallet or disconnect it anytime you wish.
Log in using EVM wallet
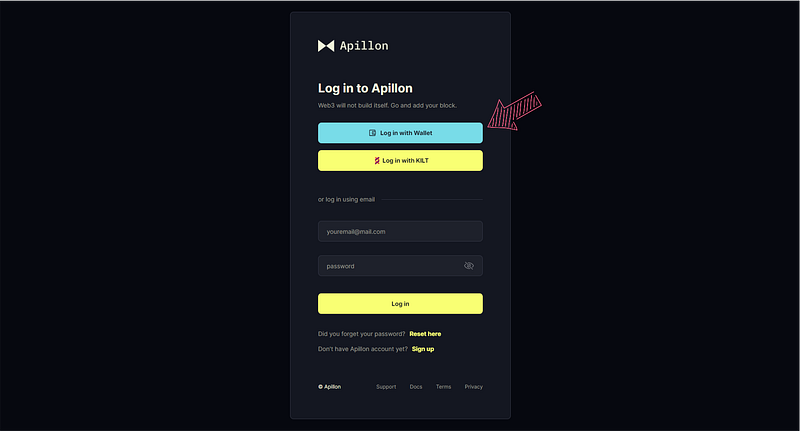
Now, if you log out and choose to log in again, you can do so with your linked EVM wallet.
On the Apillon app login page, click “Log in with wallet”.
In the pop-up that appears next, select the wallet and sign the request in your chosen wallet’s browser extension.
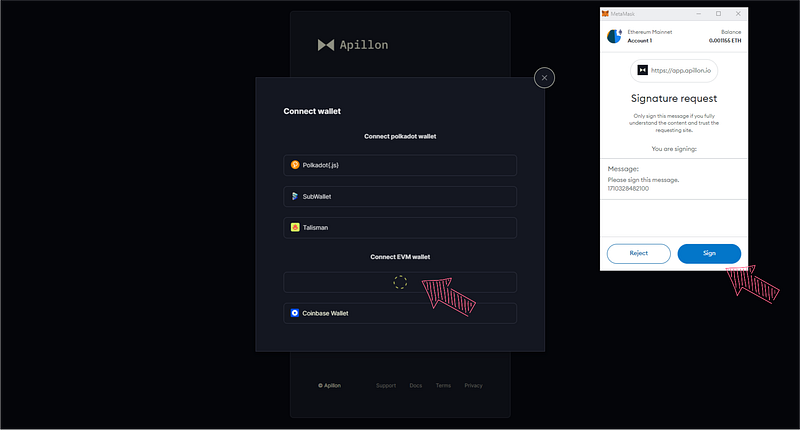
That’s it! You’ve entered your Apillon account using just your connected EVM wallet.
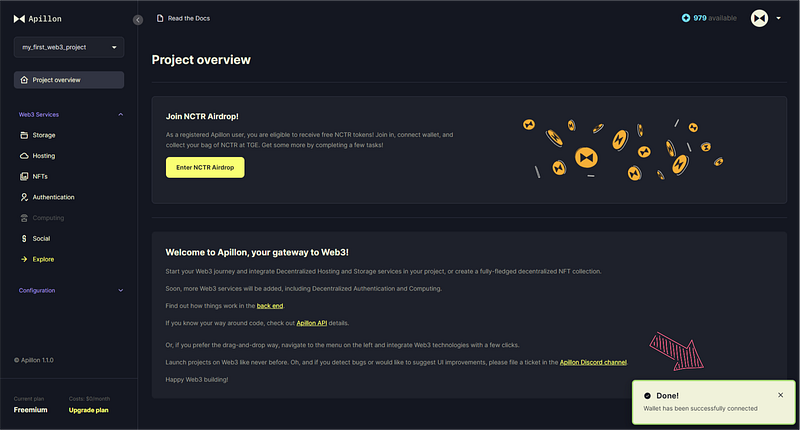
It’s your turn now! Go to the Apillon dashboard and link your EVM wallet to your account for an easy log-in.

⧓ About Apillon
The Apillon platform serves as a unified gateway to the Web3 services provided by linked Polkadot parachains. Following the multi-chain vision, Apillon powers the transition of developers to Web3, simplifying its adoption in the real economy, and expanding its versatility as the ecosystem grows. With Apillon, Web3 services are within reach for every developer, regardless of their background and experience with blockchain technology.
Website | Wiki | GitHub | Twitter | Discord | LinkedIn | Reddit